- 02 Nov 2023
- 5 Minutes to read
- Print
- DarkLight
Provision and Launch Virtual Edge iNodes with Google Cloud Platform
- Updated on 02 Nov 2023
- 5 Minutes to read
- Print
- DarkLight
This article describes how to provision and launch Virtual Edge iNodes on Google Cloud Platform (GCP). A Virtual Edge iNode is an Secure Edge network element that is a GCP instance located at the edge of your private network. To set up Virtual Edge iNodes using Secure Edge Portal, you add them as a network element, assign them to local networks, and add attributes.
Add a GCP Virtual Edge iNode
To add a new GCP Virtual Edge iNode, follow these steps:
- To add an iNode, in the Secure Edge Portal left menu, select the plus icon (+) > Add iNode.
- Enter the iNode name.
- Optionally, specify any custom attribute as Label. For more on labels, see Using Labels.
- Select the Virtual Edge profile.
- For SSH Key, select the name of the SSH public key to use when logging into the console of this iNode. (If you don't have an SSH public key to use, see Managing SSH Key Authentication for an iNode.)
- To get the required security credentials to launch the Virtual Edge iNode, select "Google Cloud" to download the iNode security credentials file. Save the downloaded file.The iNode security credentials file can be downloaded only once and contains secure credentials to be used by the Virtual Edge iNode. Save it in a safe place and don't share it with anyone. After creating the Virtual Edge iNode, you should destroy the credential file.
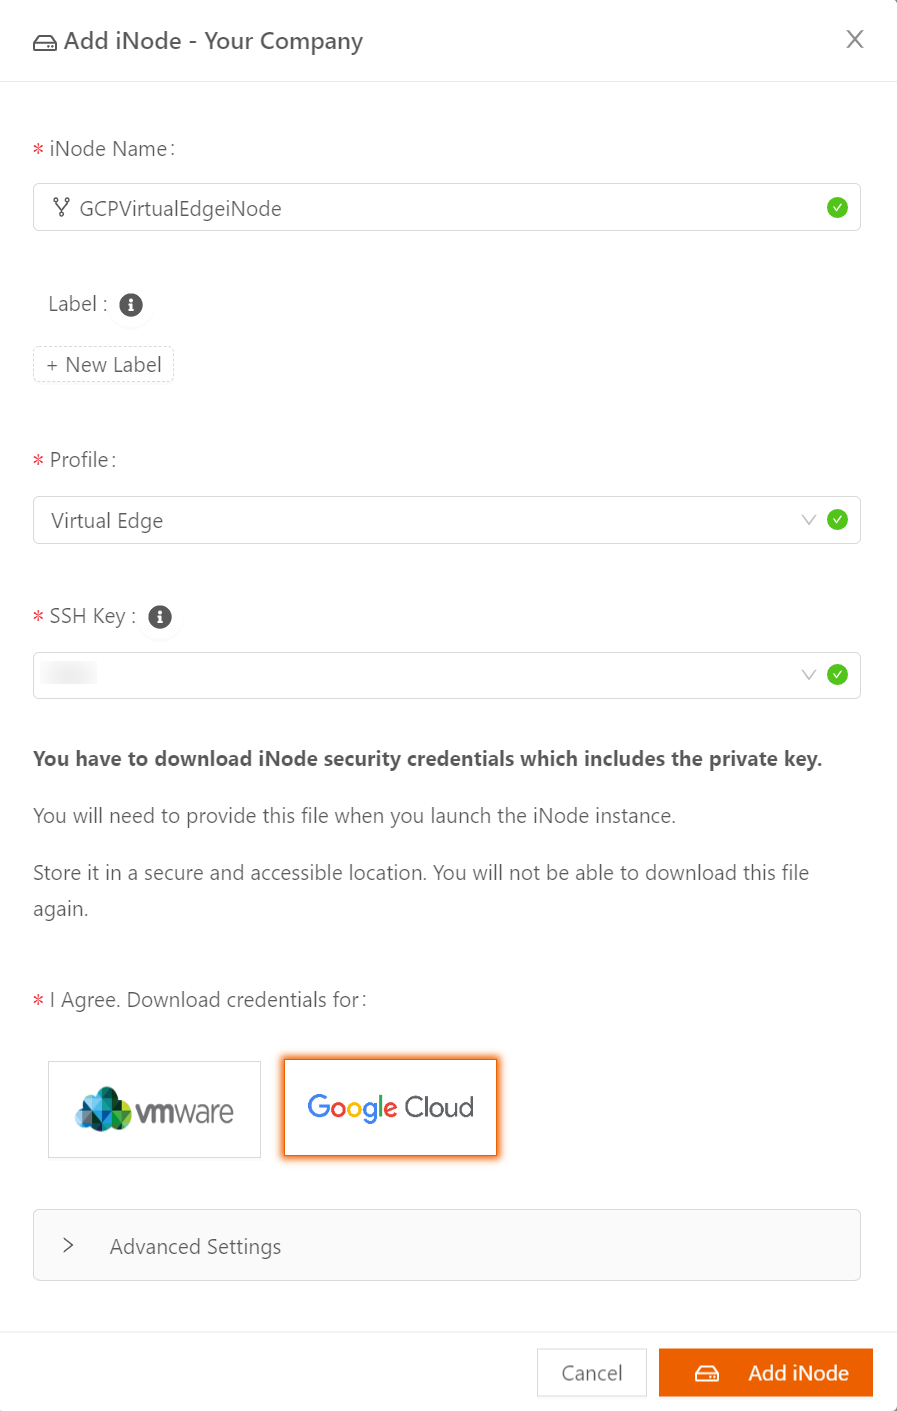
- Select Add iNode.
Add the Local Network to be Protected by this Virtual Edge iNode
- Select the name of the newly added iNode to display the iNode details page.
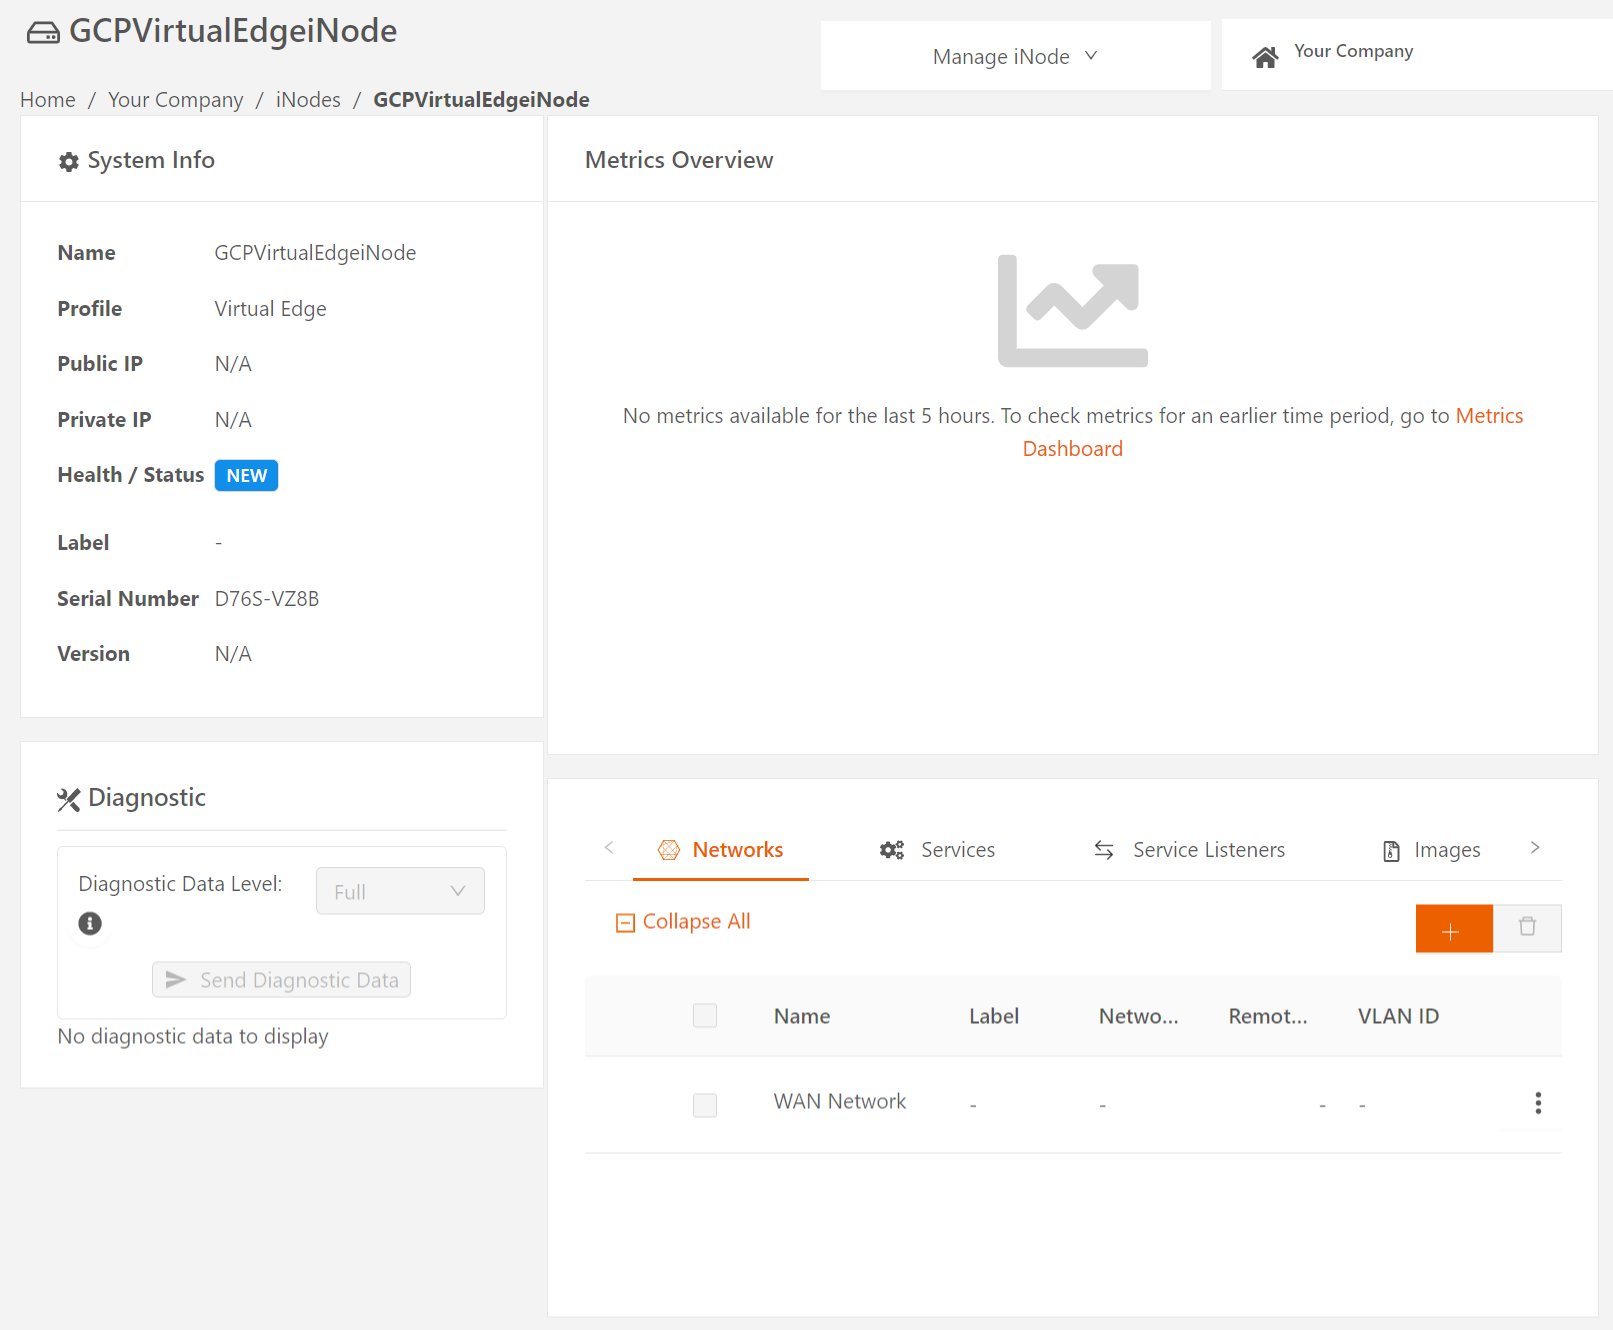
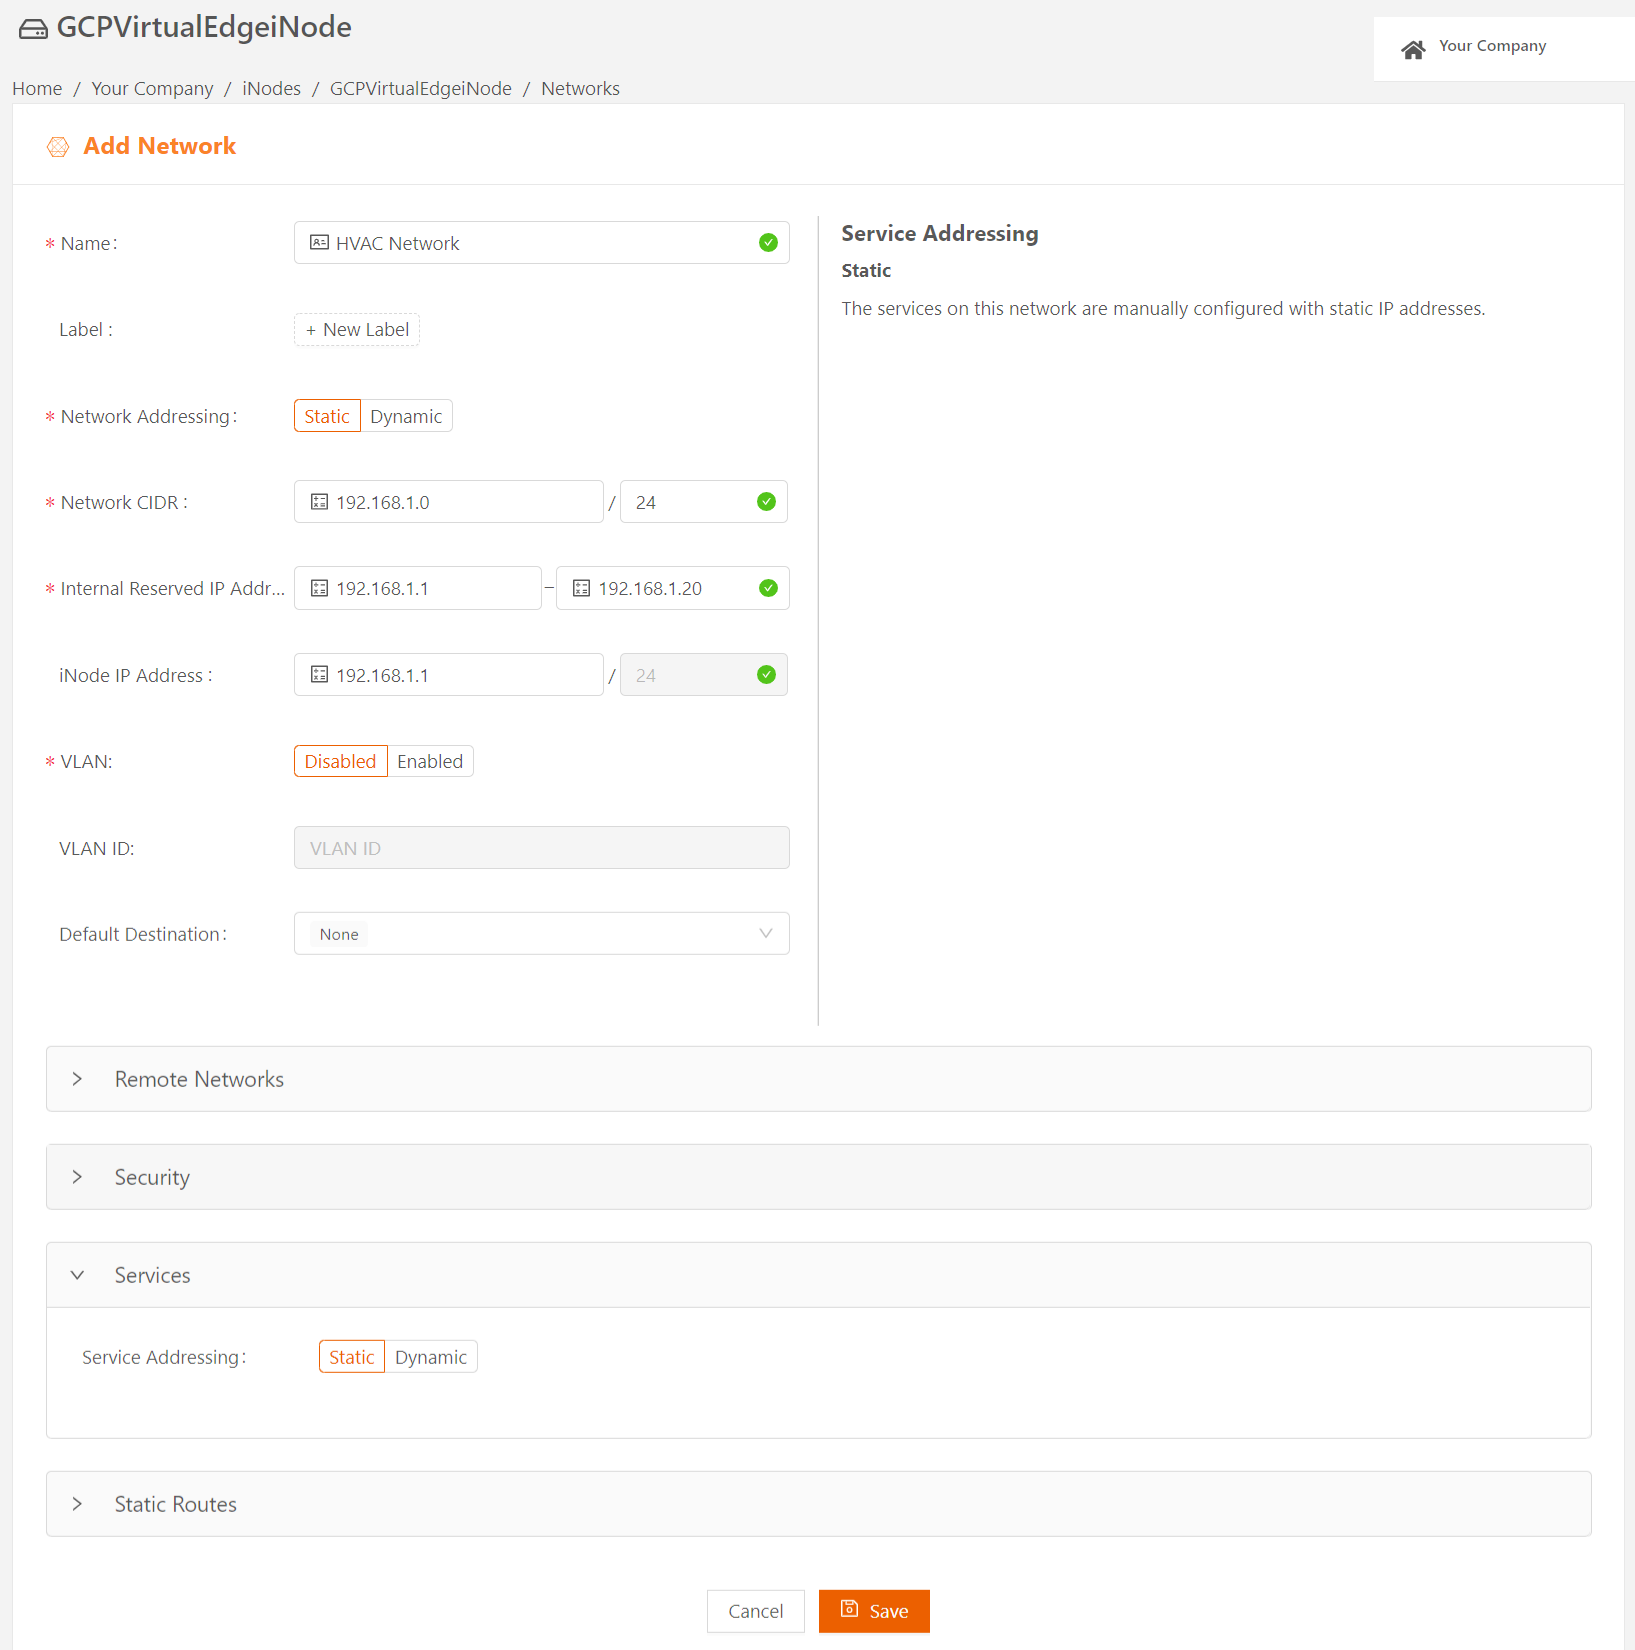
- To specify the local network to be protected by this iNode, select the plus icon (+) to display the Add Network page. Enter the network name in the Name field, and optionally, specify any custom attribute as a Label. (For more information, see Using Labels.)
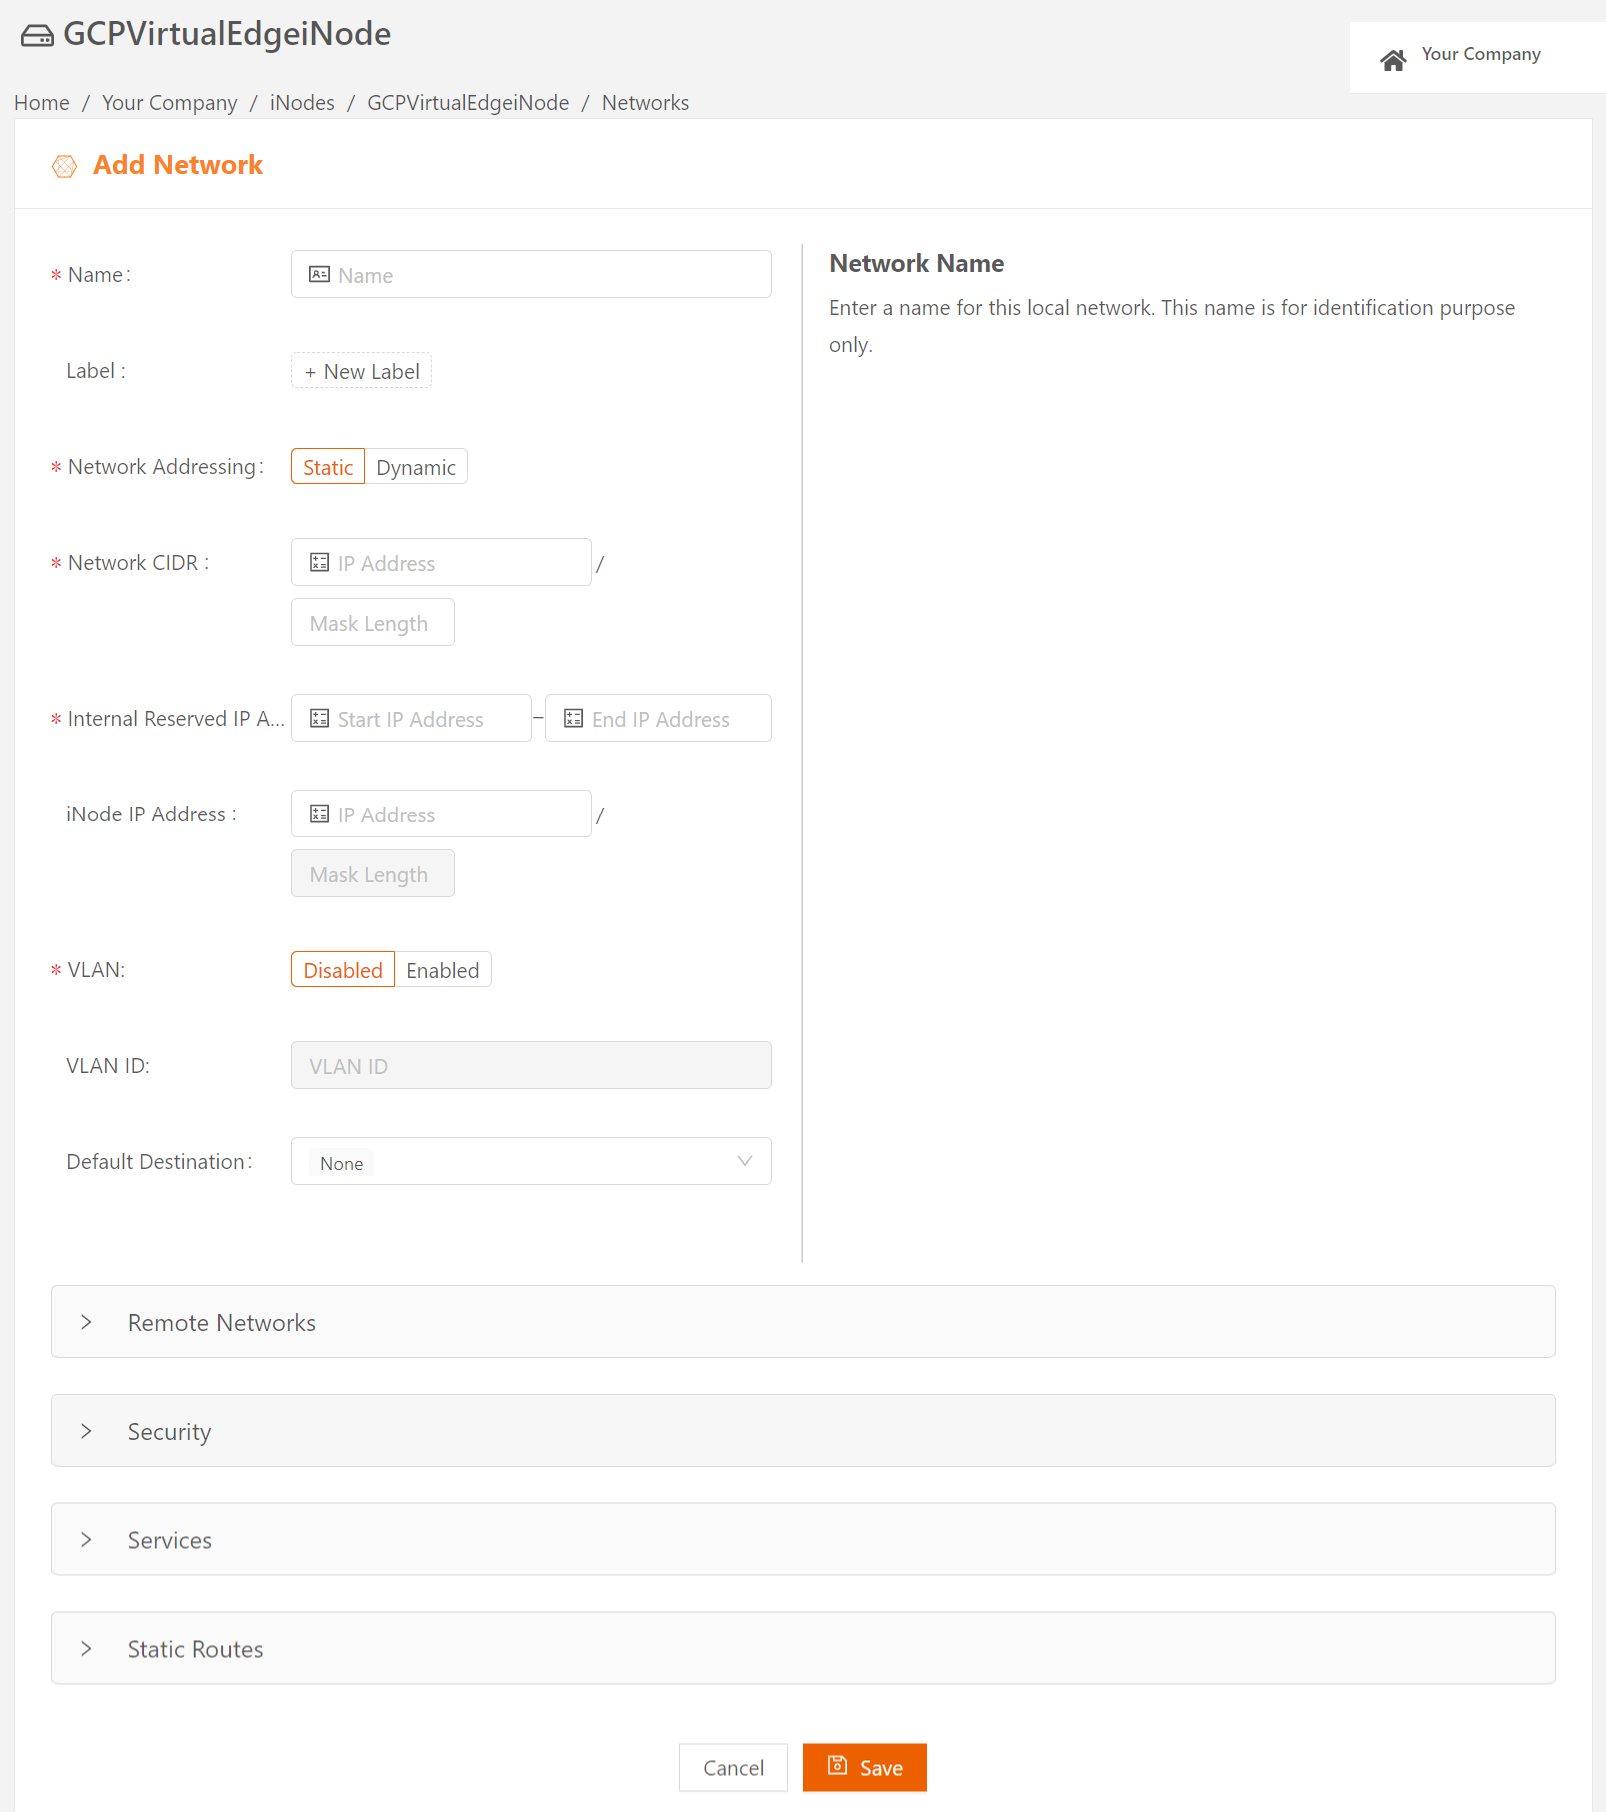
- Manually configure static IP addresses for the hosts in this network. (The Network Addresssing field is set to Static.)
- Specify the network's CIDR in the Network CIDR field.
- Specify a range of IP addresses (at least one) to reserve for iNode internal use. These IP addresses must be part of the same IP subnet as the local network's CIDR.
- You have the option of specifying the IP address of the default gateway in your local network in Default Gateway. If you don't specify a default gateway, the Start IP Address in the Internal IP Reserved Address Range is assumed to be the default gateway.
- You may have the option of configuring Virtual LANs (VLANs). (For more on VLANs, see Using VLANs on Edge iNodes.)
- Any traffic from the local network with a destination outside the local network (for example, traffic going to the internet or LAN) is sent to the default destination. You can set the Default Destinationto one of the following:
- None (default), which results in dropping the traffic
- Specify IP Address, which sends the traffic to the IP address of a gateway in the local network that you specify
- WAN Network, which sends the traffic through the iNode uplink
- Click Save.
Set Up Addressing for Services
If you aren't planning to run services on this network, skip this section.
By default, the Virtual Edge iNode assigns IP addresses to services on the network dynamically from the Internal Reserved IP Address Range you specified. If you're using the default, make sure you reserved enough IP addresses. You need at least one more than the number of services you plan to run.
If you plan to configure the services manually with static IP addresses, follow these steps:
- Select the Services expansion panel and set Service Addressing to Static.
- Select Save.
Create Static Routes for a Virtual Edge iNode
You need to create static routes if you need the following:
- Services running on the Virtual Edge iNode to reach specific routed network segments behind the iNode
- Hosts in the local network to reach specific networks in your LAN or the internet
To create static routes, do the following steps:
- Select the Static Routes expansion panel and select Add to add a new static route. You can add up to 64 static routes per network. Note that if you set Default Destination to a value other than None, it uses up a static route.

- Specify the CIDR of the destination network in the Destination Network CIDR field.
- In the Via field, select where to send the traffic going to the destination network. Select one of the following:
- Specify IP Address, which sends the traffic to the IP address of a gateway in the local network that you specify
- WAN Network, which sends the traffic through the iNode uplink

- Click Save.
Launch Virtual Edge iNodes
To launch a Virtual Edge iNode in GCP, do the following steps:
- Login to the GCP account using your GCP credentials.
- To launch a Virtual iNode in GCP, you need access to the Secure Edge virtual edge iNode image for GCP. If you don't already have the image, ask Secure Edge Support to share it with your account.
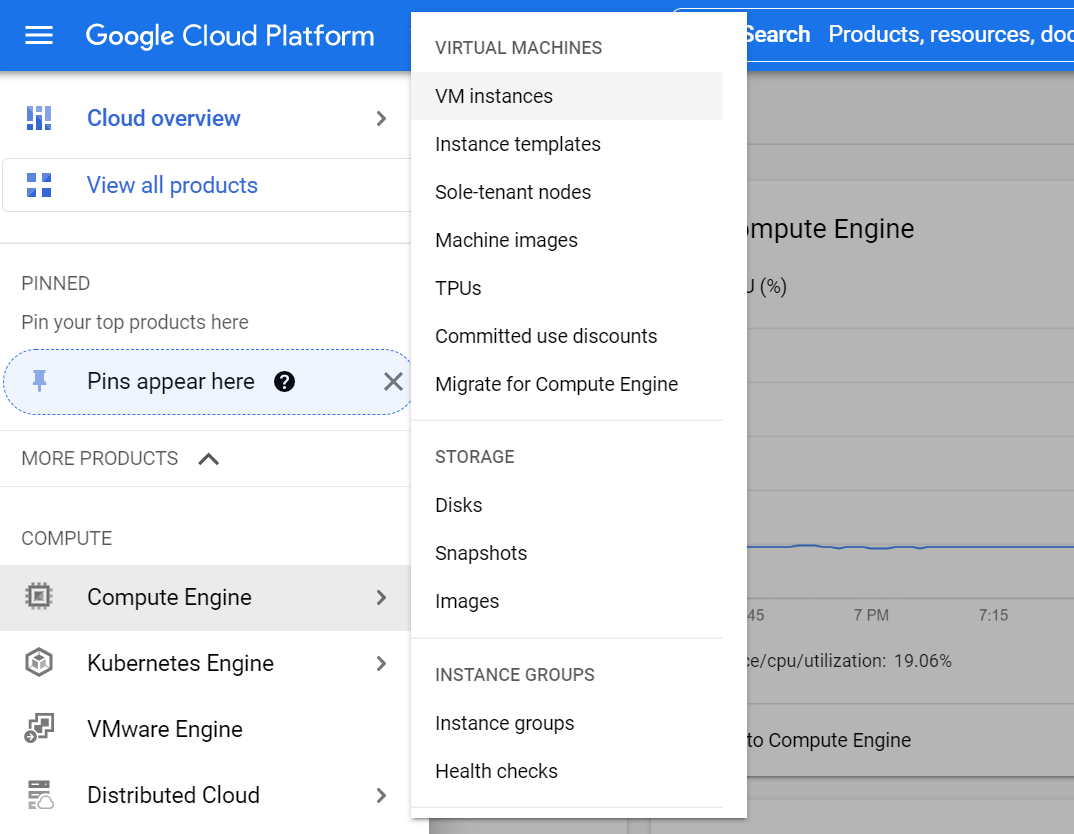
- When you have access to the image you need, select VM instances from the main menu.
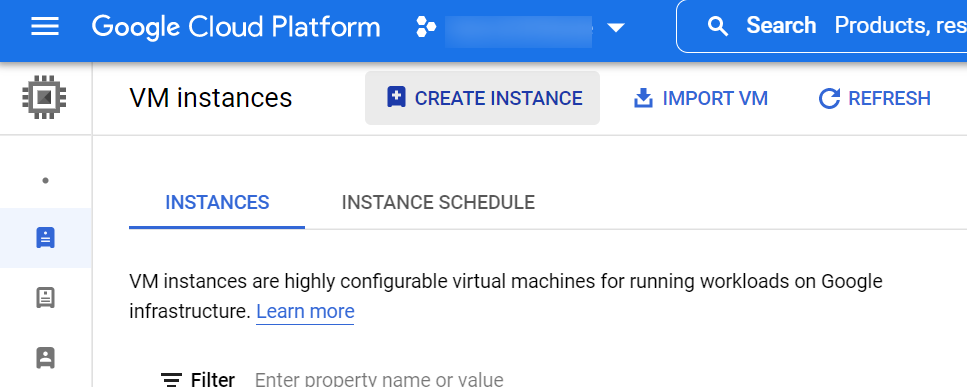
- In the VM instances page, select CREATE INSTANCE to display the Create an instance page
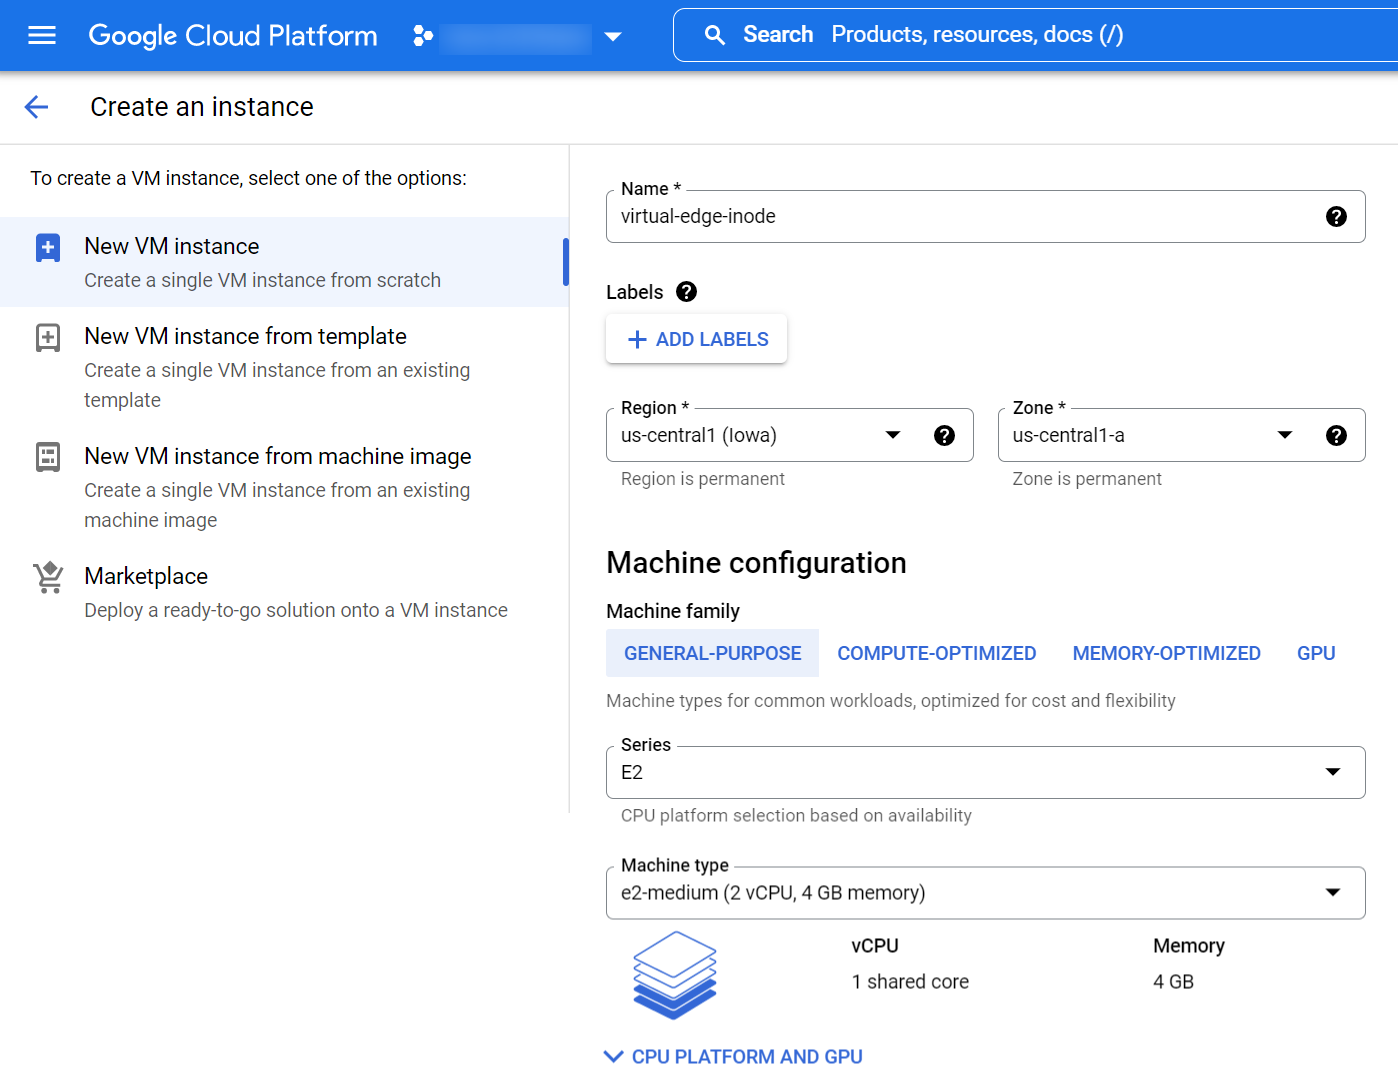
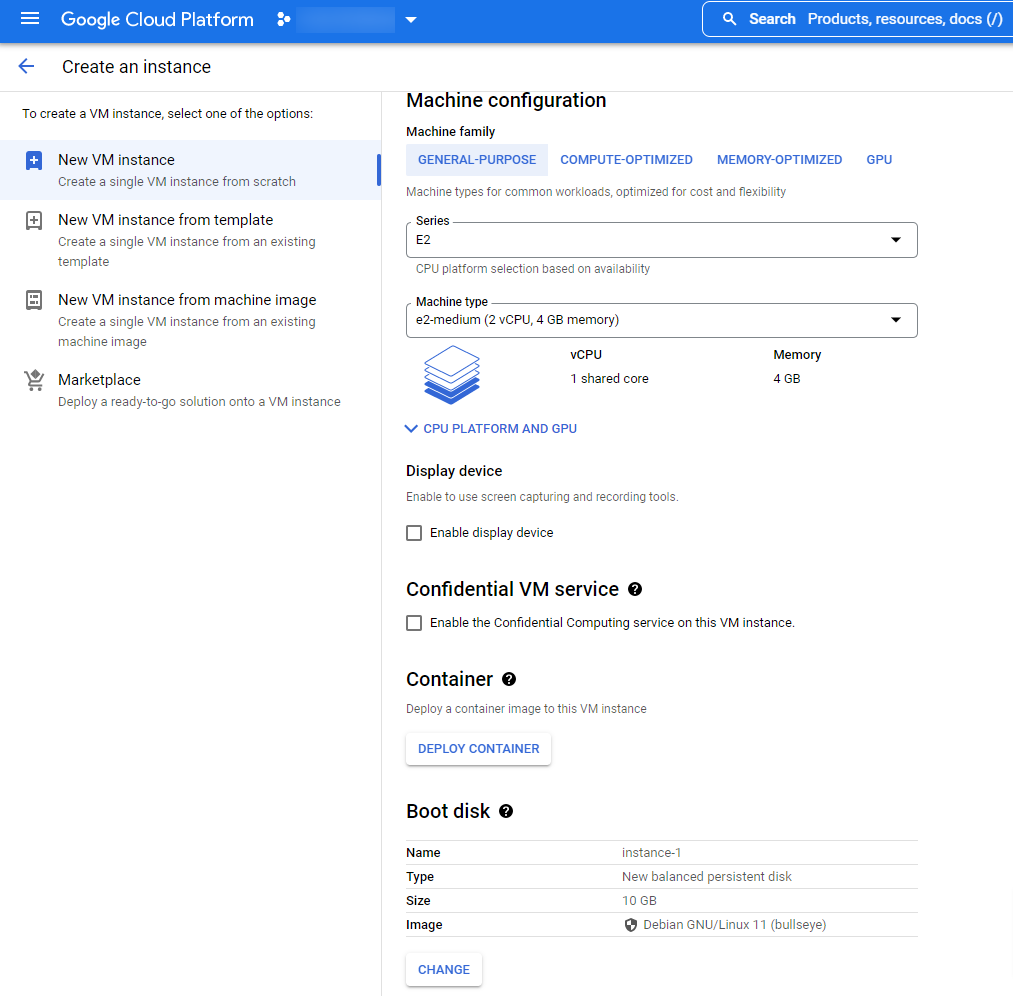
- Select New VM instance and enter an instance name in the Name text box.
- In the Machine configuration section, in the Machine type field select e2-medium or higher. The minimum requirement is e2-medium.
- In the Boot Disk expanded section below, click Change.
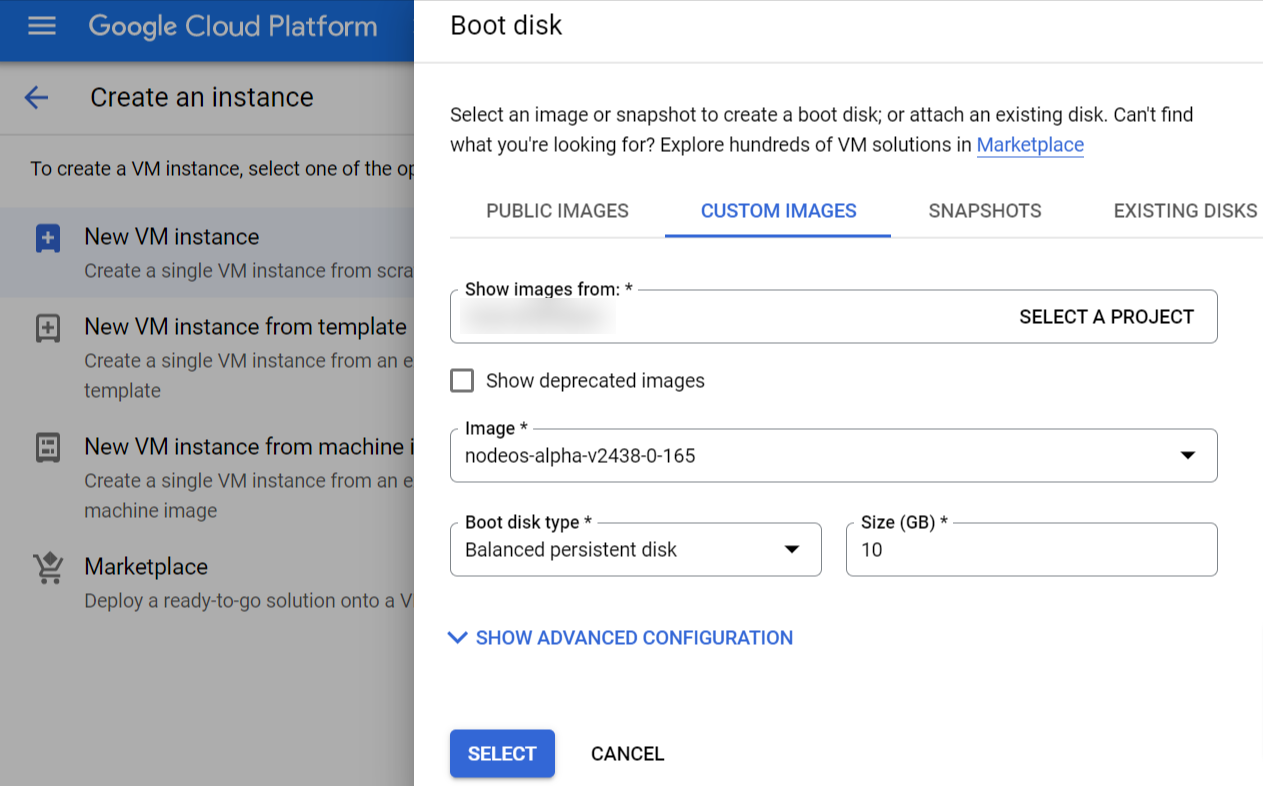
- In the Boot disk page, select CUSTOM IMAGES and then select the correct project from the SELECT A PROJECT list box.
- Select the correct iNode version from the Image dropdown menu and click SELECT.
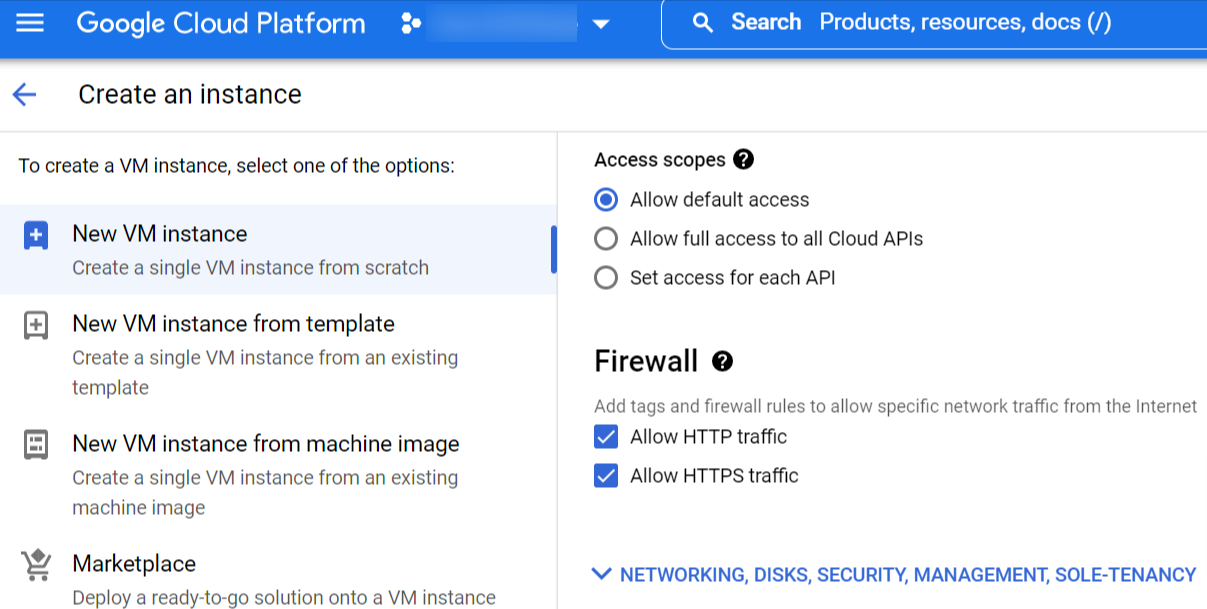
- In the Firewall section, select both Allow HTTP traffic and Allow HTTPS traffic.
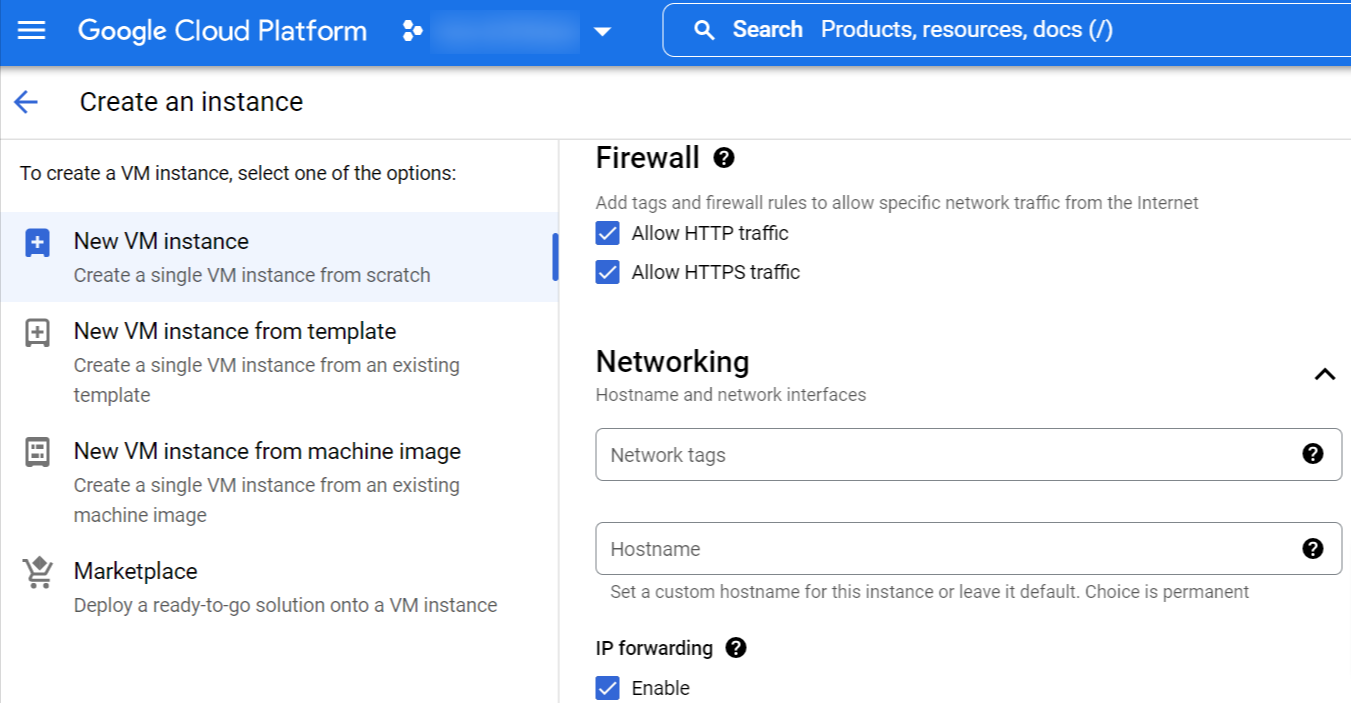
- In the Network section, enable IP forwarding.
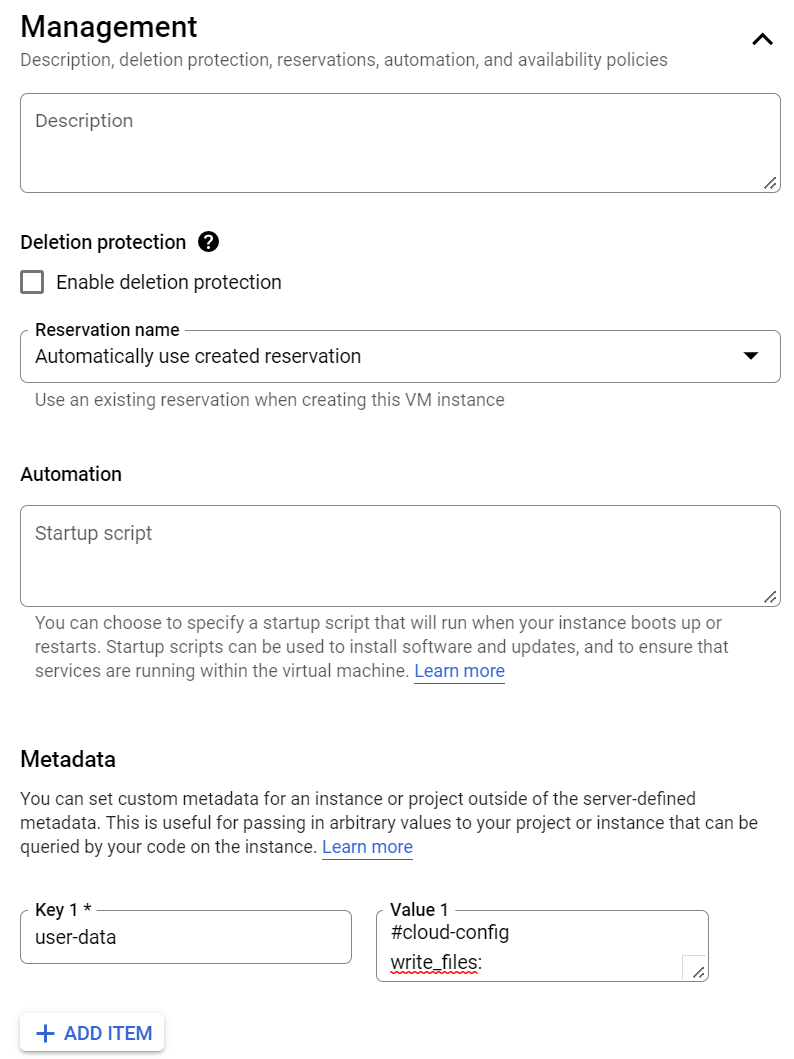
- In the Management section, under the Metadata subsection, click ADD ITEM and complete the fields:
- In the Key text box: enter user-data.
- In the Value text box: copy the full content of the iNode security credentials file (downloaded during provisioning) and paste into this text box.
- Click the Create button.
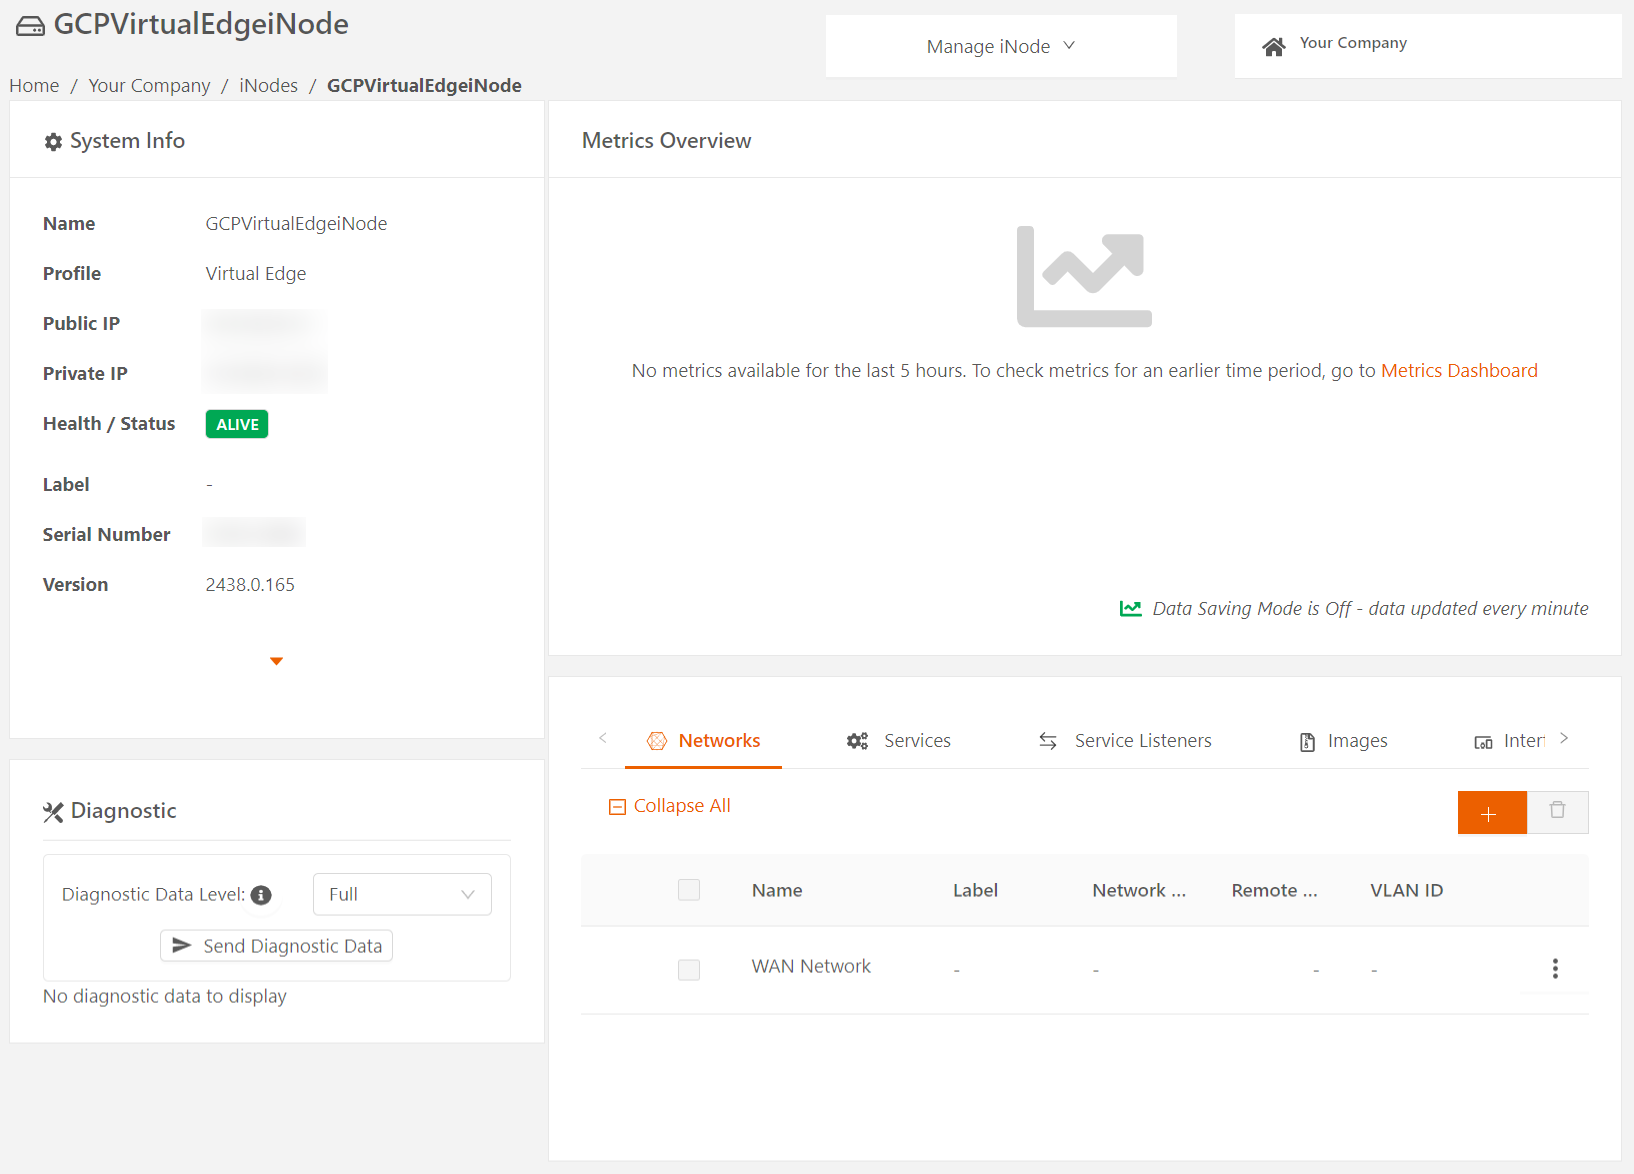
When the instance is established and running, its status is displayed as ALIVE in Secure Edge Portal.
