Managing Groups
- 15 Jul 2024
- 1 Minute to read
- Print
- DarkLight
- PDF
Managing Groups
- Updated on 15 Jul 2024
- 1 Minute to read
- Print
- DarkLight
- PDF
Article summary
Did you find this summary helpful?
Thank you for your feedback
A group is used to simplify management of sets of users (usually by role) with similar device needs. In this section, learn how to manage groups, including:
- Adding groups
- Adding users and devices to a group
- Modifying groups
Adding Groups
To add a group to your Remote Access account, follow these steps:
- From the Remote Access left navigation menu, select the Groups icon to display the Groups page.
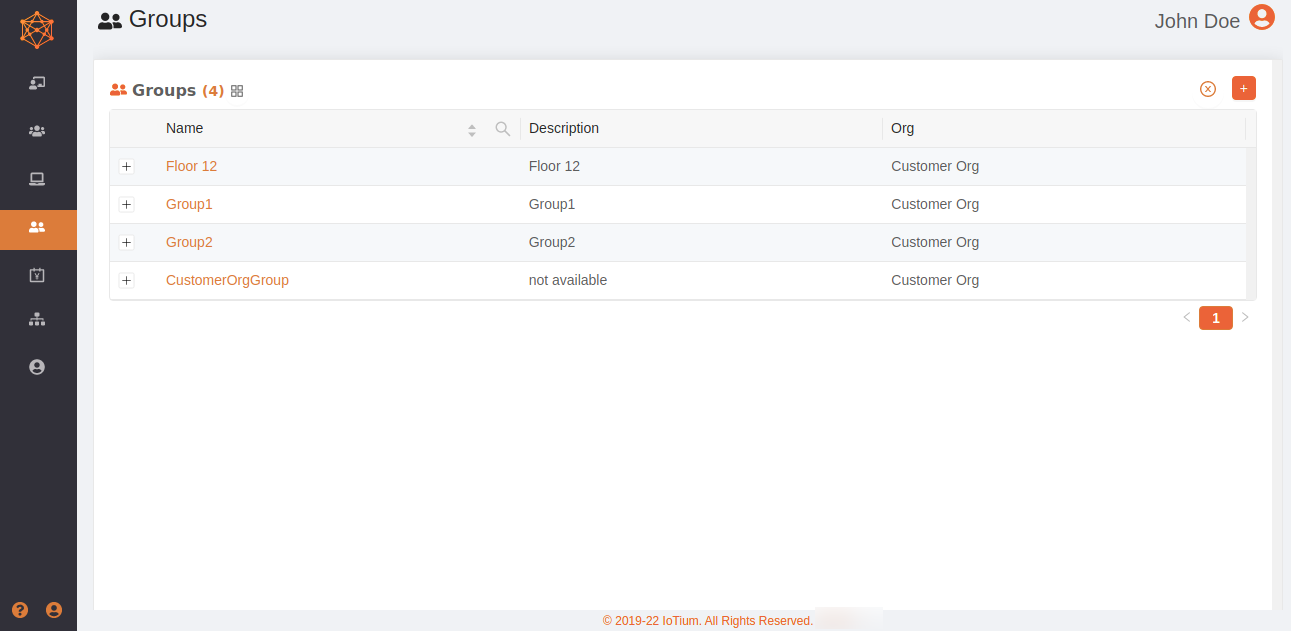
- To add a new group, select the upper right plus icon (+) to display the Add Group dialog box.
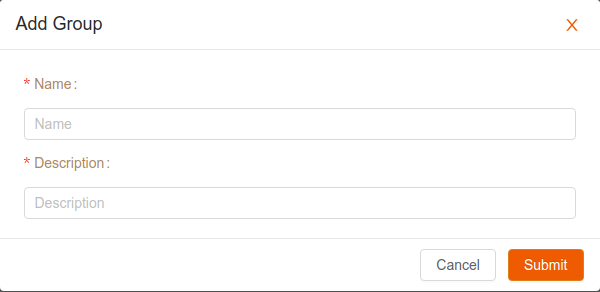
- Supply a Name and Description for your group.
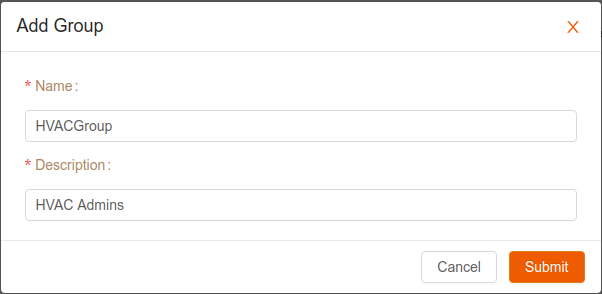
- Select Submit. After you’ve submitted, your new group will show in the listing on the Groups page.
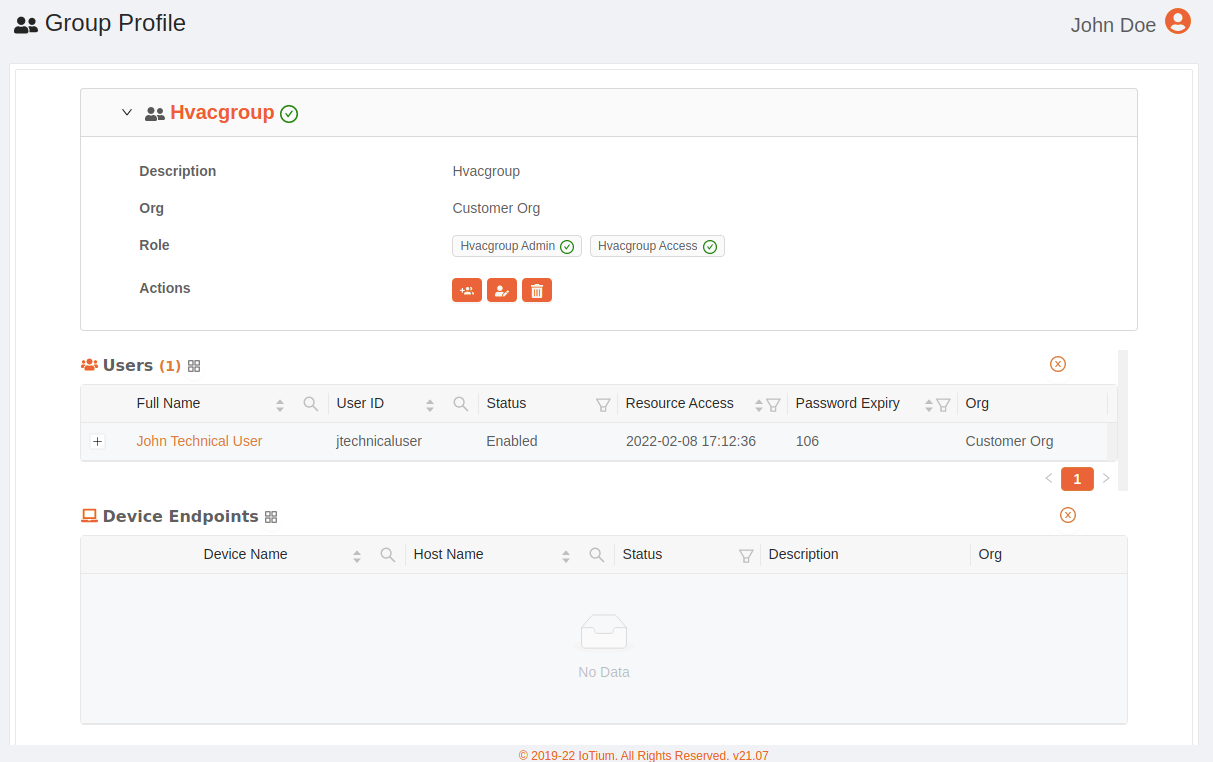
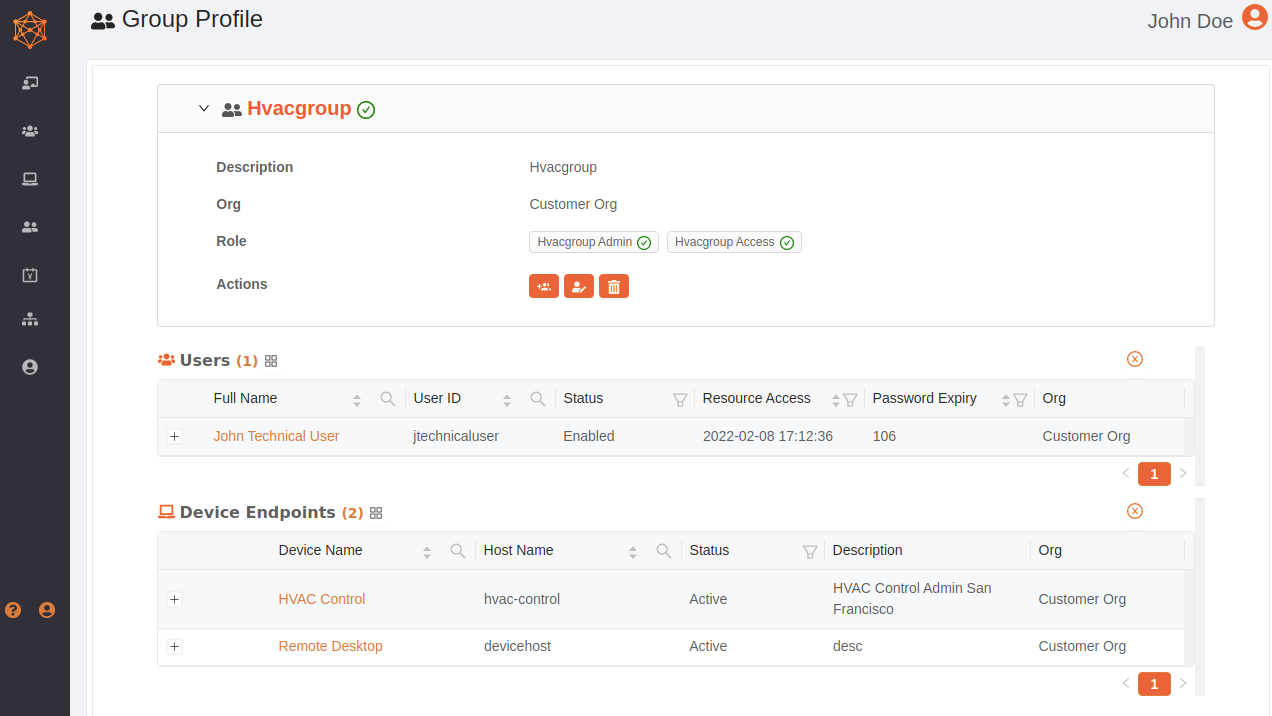
Access the new group’s Group Profile page by selecting the name of the group from the Groups page. The Group Profile page lists users and devices that are included in the group.
Adding Users and Devices to a Group
When you add a new group, it doesn’t have any users or devices associated with it yet.
- To add users to the group, follow the instructions in Modifying Users' Groups.
- To add devices to the group, follow the instructions in Modifying Device Groups.
Modifying Groups
Use the steps in the following sections to modify a group’s information from the Group Profile page.
Modify Group Names and Descriptions
To modify a group’s name or description, follow these steps:
- On the Group Profile page, select the caret next to the group name to display the group modification panel.
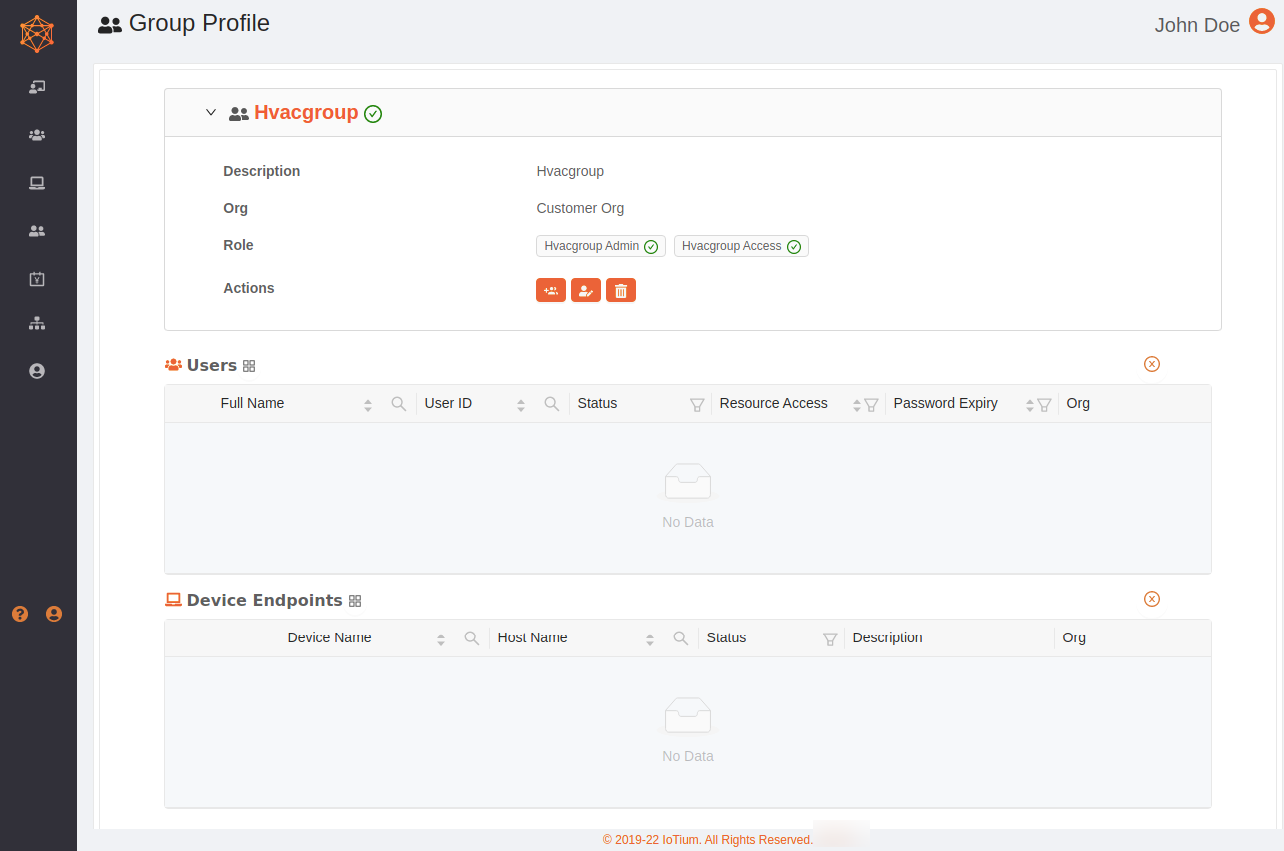
- Select the Edit Group icon.
 The Update Group dialog box displays.
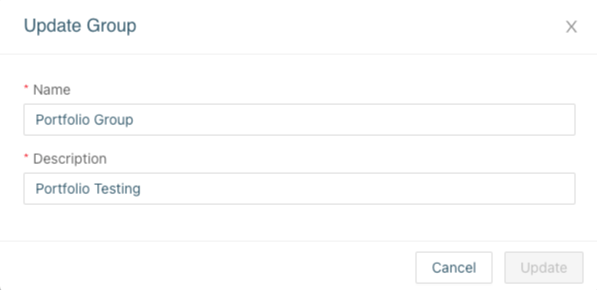
- Modify the name or description, then select Update.
Modify Group Users
To modify a group’s user, follow these steps:
- Select the Associate User/Device icon.

- Select Resource Type: Choose User.
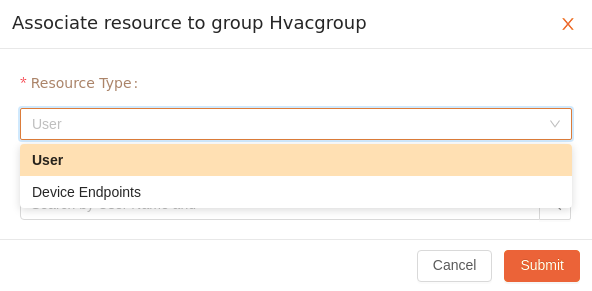
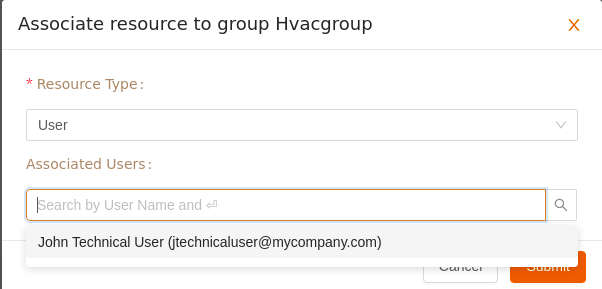
- From “Associated Users:” list select a user.
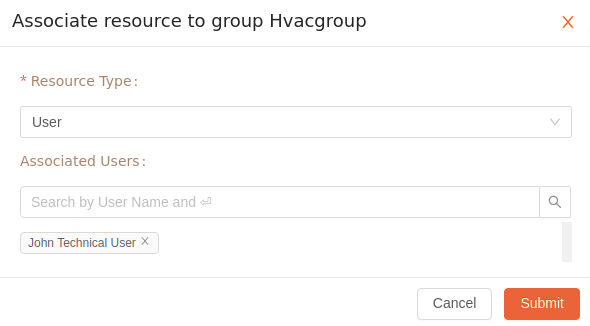
- Continue the previous step, until you’ve chosen all the users to associate, then select Submit
Modify Group Devices
To modify a group’s device, follow these steps:
- Now for adding Devices into a group.
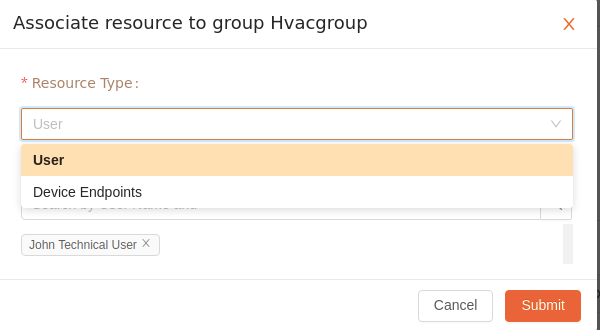
- Select Resource Type: choose Device Endpoints.
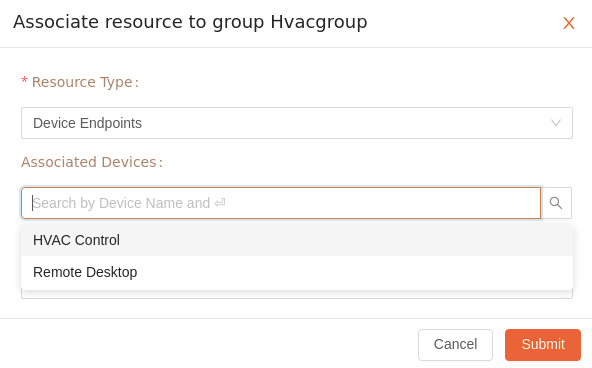
- Select device from the list and select endpoints.
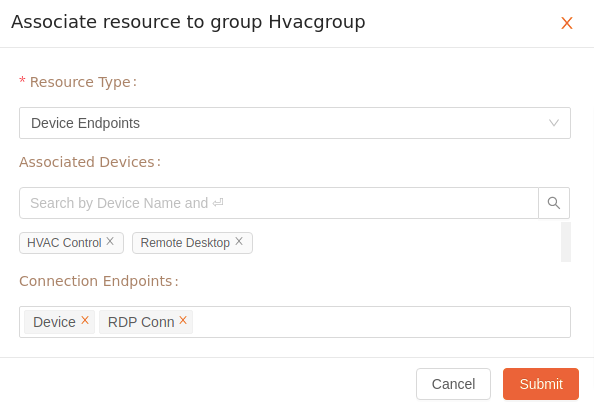
- Continue the previous step, until you’ve chosen all the device endpoints to associate, then select Submit
Was this article helpful?


